How to look like a CG character, effortlessly (using iPhone)!

My love for anime is beyond one’s comprehension. All time favourite, needless to say is Naruto, then there’s Kaichou wa Maid-sama, and the list continues…

I can imagine myself marrying Usui Takumi (from Kaichou wa Maid-sama) one day, but in his eyes there’s only Misaki Ayuzawa. Sigh.
So yes, heartbroken, I have to settle for less and pick a human instead. Sadly, no one fits the bill yet. Well, there is, but unfortunately, due to many reason, it’s pretty much another #neverendingstory #nevergonnahappen #dontwanttothinkaboutit kinda situation. It’s the hashtag era. Go figure.
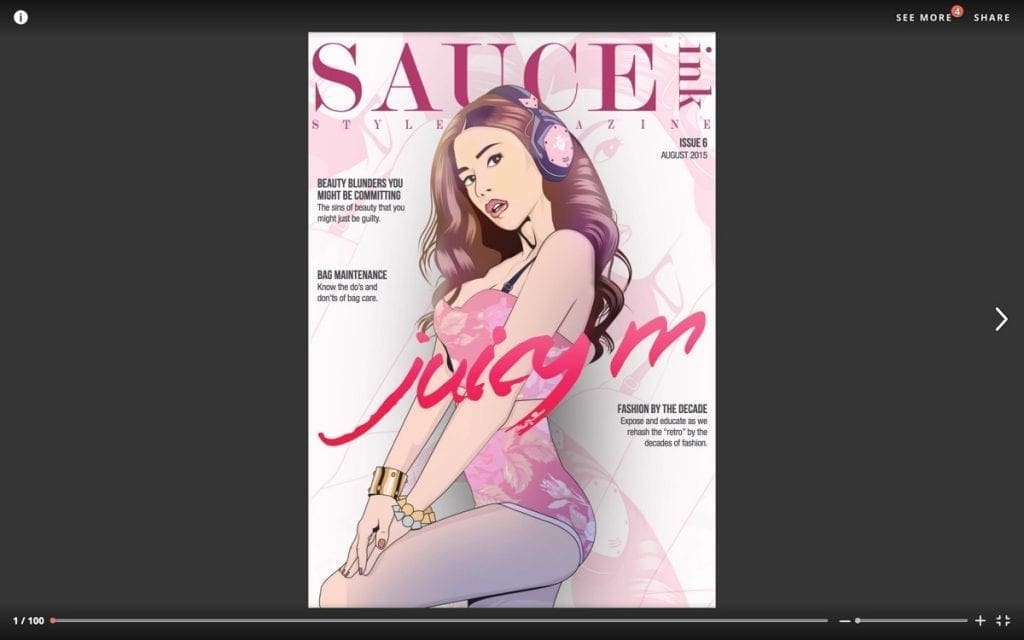
Anyway, when I think of CG (which stands for Computer Graphics) I think of Final Fantasy then I think of Rinoa Heartilly. I’m not sure if the character is actually illustrated based on a person but people are saying that Camilla Belle looks like her.

What do you think? I’ll post it up on my Facebook Page and we can poll on it. Haha. Do stalk me, across platforms if you may!
So, the whole topic on CG came about because of a comment Priss (my BFF) made. Here’s how the story goes. I posted a photo on Instagram and got pretty good response from it. Since response was good, I decided to use it as my profile picture across platforms. Priss saw the photo and WhatsApp-ed me to say I look like a CG character. It’s not the first time someone commented something like that (usually they say I look like an anime character), but because Priss said it… well, it has more weight, sort of.
And that’s why I decided to do this step by step “tutorial” on “How to look like a CG character, effortlessly!”
Before we start, please be an iPhone user, otherwise, don’t bother to continue reading. I basically used iPhone photo editing applications to CG-fy my photo, which is why it’s pretty much effortlessly. Since I don’t own an Android (even though I’m sure they have application for photo editing too), I can’t tell you what application to use on that platform. As for BlackBerry (I have one of those too), they don’t exactly focus so much on photos per se.
Step 1: Find a photo of yourself that you!

Step 2: Download PS Express and PhotoWonder from App Store.
Step 3: Go to PS Express, click on the pencil looking icon at the bottom, wait for it to load, click on the second icon on the top, go to Exposure, slide upwards to increase the exposure.
Step 4: Once exposure is done, click on the bottom right icon to save image.
Step 5: Go to PhotoWonder, click on Effects, then use Autumn.

Step 6: Click on Edit then Crop, select ratio 1:1 then select the area according to your liking.
Step 7: Click on Effects, switch to Scene then select Neon, after that use Snow.

Step 8: Click on Edit then Color, then adjust your Brightness, Contrast and Saturation accordingly.

(I only reduce Brightness slightly.)
Step 9: Keep on Edit then select Sharpen.

(I used the default, didn’t adjust.)
Step 10: Click on Effects, switch to Scene then select Warm.

Wala, you’re done! It’s pretty simple really. Using this application you can somewhat liquify too!


Responses